
192.168.1.3 is a private IP address that is used as the default gateway address to access the admin panel of the router at http://192.168.1.3/. The admin panel of the router is an important web page that contains all the settings of the router. 192.168.1.3 is used as the default IP address for the routers of different brands such as NETGEAR, ZyXEL, etc. You can change the Wi-Fi Network Name, Password, and other and configuration of both your Wi-Fi network and router from the admin panel.
How to login to 192.168.1.3?
Follow these steps below to login into the admin panel of the router using 192.168.1.3:
- Open a web browser of your choice on the PC.
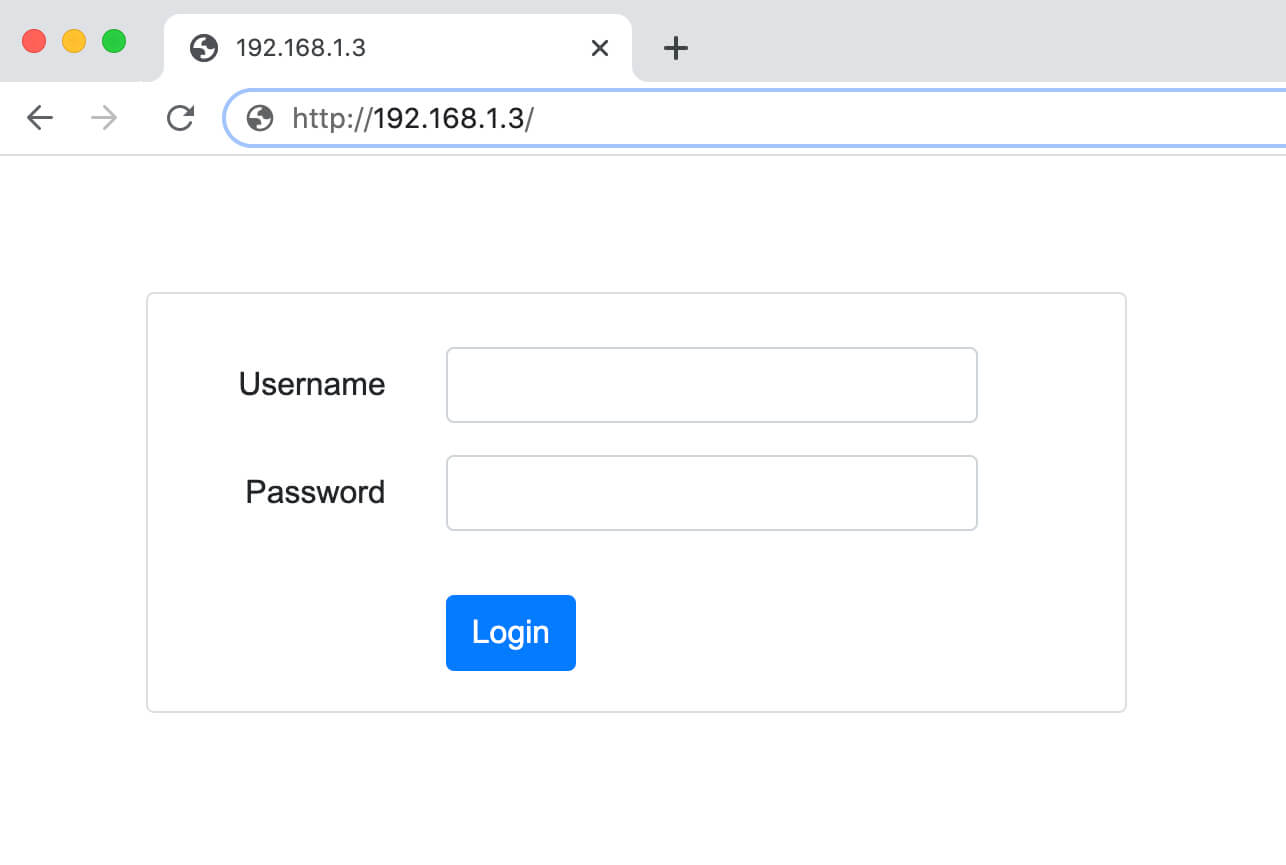
- In the URL bar of the browser, type http://192.168.1.3/, and press Enter.
- You will be taken to the login page of the router. Here you will be asked to enter the login username and password to continue.
- You can find the default login username and password printed on a sticker at the back/side of your router or on the box in which the router. You can also look on the router manual guide, or check our list of default router passwords.
- Enter the login username and password & click on Login.
- Given that the login username and password are correct, you will be logged in into the admin panel of your web router.
To be able to access the admin panel of the router admin panel on the PC, your PC needs to be connected to your web router. After your PC is connected to the router, you will be able to access the admin panel of the router. You can connect your PC to the router in two ways, either by connecting one end of the ethernet cable into the router and the other into your PC or by directly connecting to the Wi-Fi network of the router.
Make sure you are typing the IP address correctly, if you type 192.168.l.3 or the URL with https:// it won’t work. 192.168.l.3 contains a letter “L” instead of numeric 1 so typing that as IP address will bring you to Google search results page.
How to change the Wi-Fi Network Name (SSID) and Password?
You can change the Wi-Fi Network Name and Password easily through the admin panel of the router. Among other settings, these two are also changed from the admin panel of the router. Changing both the network name and password is simple and takes just a few moments.
Here is how you can change the Wi-Fi Network Name and Password through the admin panel:
- Login into the router admin panel using the aforementioned method. Once logged in, you will be on the home page of the router.
- Now, go to the Wireless Section.
- Here, look for Wi-Fi Network Name(SSID) and Wi-Fi Password/Passphrase field under your main Wi-Fi network.
- Enter the new Wi-FI Network Name and Password in the given fields.
- After entering the new SSID and Password, click on Save/Apply to save the changes.
- The router will now reboot and after it reboots, the Wi-Fi Network Name (SSID) and Password would be changed.
- Keep one thing in mind that after changing either one of the Wi-Fi Network Name or Password, you will have to connect to the Wi-Fi network again from all the previously connected devices.