
192.168.31.1 is a private IP address used as the default gateway to login to the admin panel of the router at http://192.168.31.1/. Admin Panel of the router is the main settings page through which users can configure the settings of both the router and wireless network.
How to login to 192.168.31.1?
Accessing the router admin panel is very easy. All you need to do is find out the default gateway address of your router and make sure that your PC is connected to the router. Once your PC is connected to the router, you can follow these steps below to log into the admin panel of the router through 192.168.31.1:
- Open a web browser of your choice.
- Open a new web tab. In the URL bar, type 192.168.31.1 or http://192.168.31.1 and press Enter.
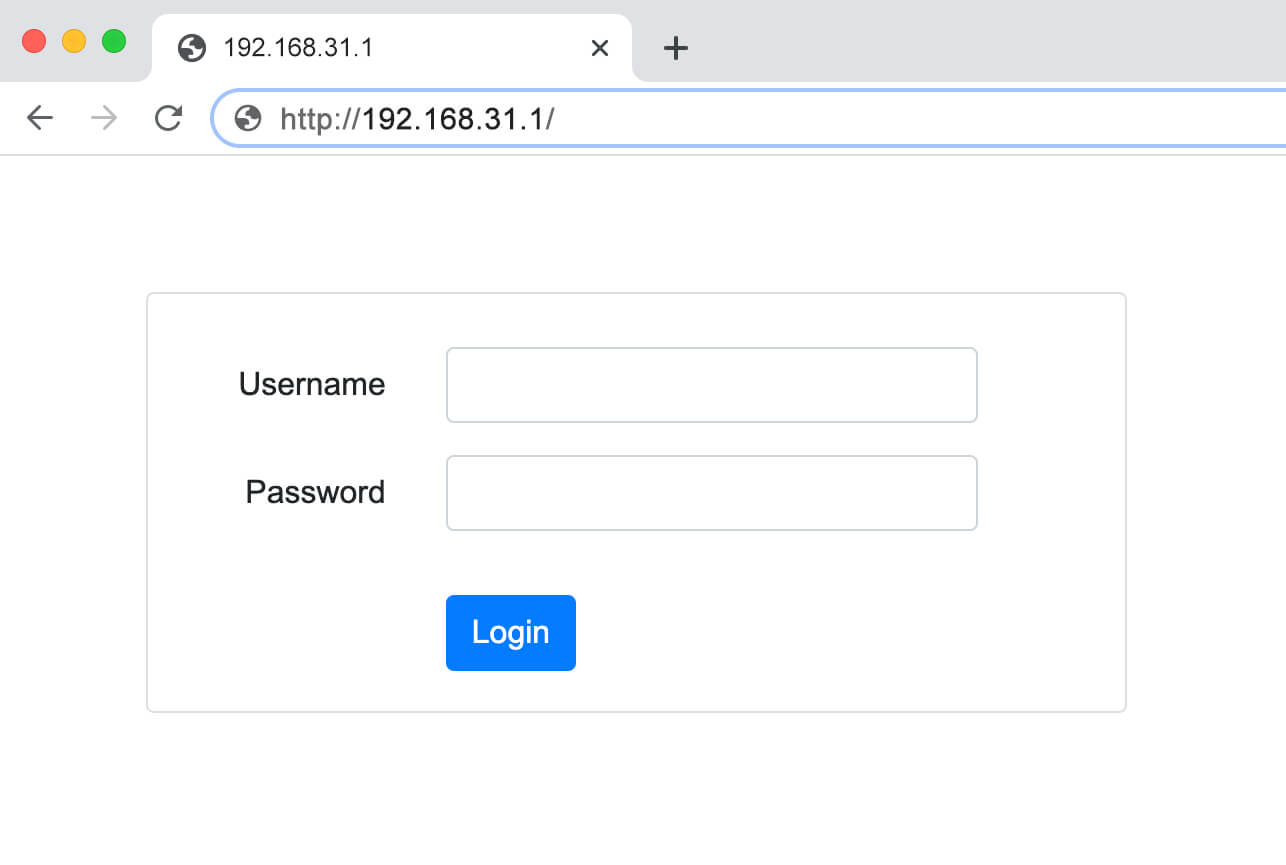
- You will be directed to the login page of the router. Here you will be asked to enter the login username and password to continue. You can find the default username and password printed on a sticker at the back of the router.
- Type the login username and password in the given fields and press Enter.
- Given that the username and password are correct, you will be logged into the admin panel of the router. From here, you can make all the required changes to the settings of both the Wi-Fi network and the router.
How to change Wi-Fi Network SSID and Password?
As mentioned above, one of the things that you can do once you have logged into the admin panel of the router is that you can change the password of not only the admin login page but also the password of the Wi-Fi network along with SSID. Here we will be discussing how you can easily change the SSID and password of your Wi-Fi network from the admin panel of the router.
The process is simple, easy, and takes usually a few minutes. Here is how you can change both the WiFi SSID and Password:
Change the Wi-Fi SSID
- Login to the admin panel of the router using the aforementioned method.
- After logging in, you will be on the home page of the admin panel. Now, go to the Wireless section.
- Look for a field saying Wi-Fi Name or SSID. Here enter the new SSID in the given field.
- Click on Apply/Save to save the changes.
- The router will now reboot and after it reboots, the SSID of the Wi-Fi network would have been changed. All the previously connected devices will be disconnected and you will have to reconnect those devices.
Change the Wi-Fi Password
- Log in to the admin panel of the router. The method is mentioned above.
- Once logged in, you will be on the home page. From here, go to the Wireless section.
- Head over to the Security section.
- Set the encryption Protocol as WPA2.
- Now, look for the Wi-Fi Password field. Enter the new Wi-Fi Password in the given field.
- Click on Apply/Save to save the changes.
- The router will reboot and after it reboots, the Wi-Fi password would have been changed. You can then connect to the router using the new Wi-Fi Password.