
192.168.49.1 is an IP address that is used by routers as a default gateway to login admin settings of the router at http://192.168.49.1/ from where you can manage the settings of both the router and Wi-Fi Network. If you own a Wi-Fi Router then at some point you would need to access the admin console, be it for changing the SSID of the Wi-Fi network, password of the Wi-Fi network, or any other settings that you need to change.
Make sure that your PC or Laptop is connected to the router and the default gateway address of your router is 192.168.49.1. To confirm, check our list of default router IP addresses and passwords.
How to login to 192.168.49.1?
Follow these steps below to login to 192.168.49.1 and access the admin console of your router:
- Open a web browser on your PC, Google Chrome, Mozilla Firefox, or any other browser.
- Open a new web tab and in the URL bar, type http://192.168.49.1 or 192.168.49.1 and press Enter.
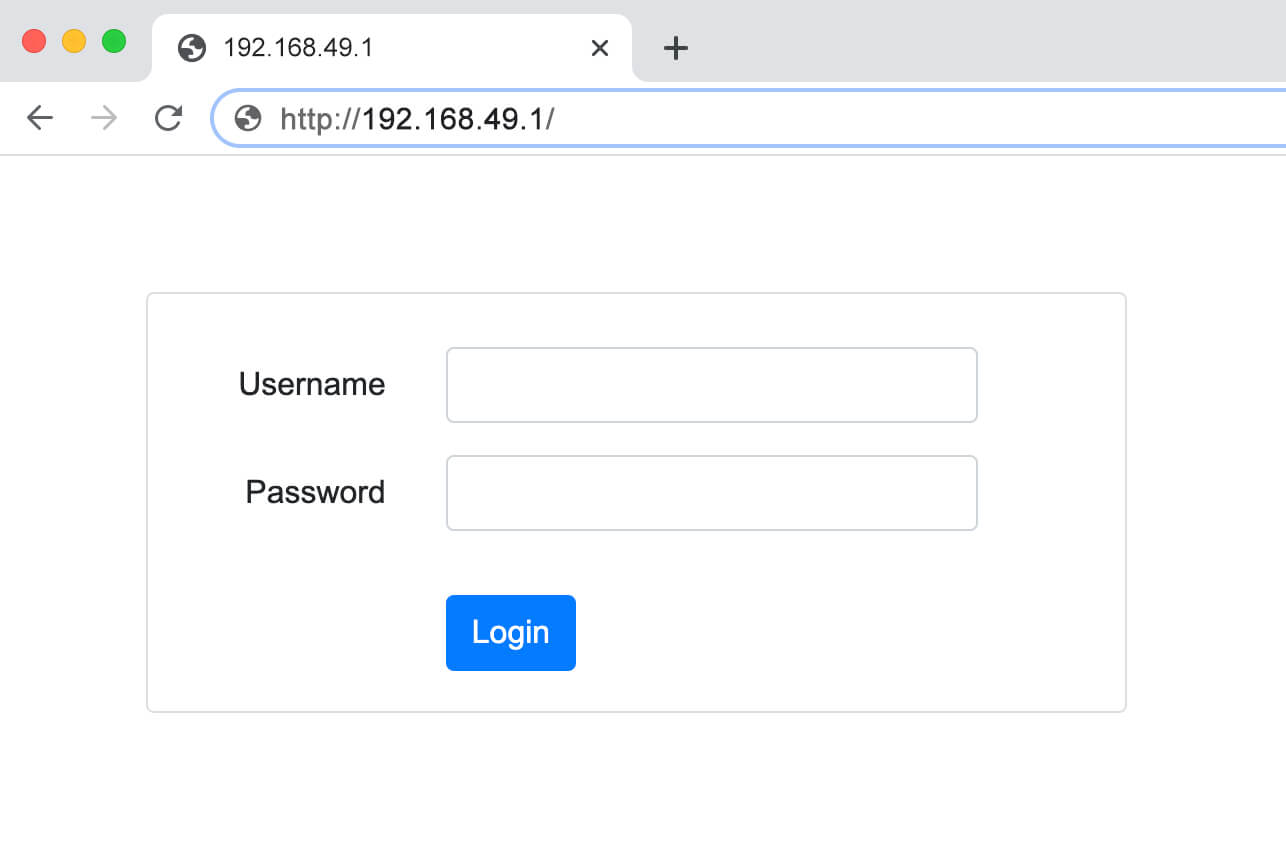
- Given that 192.168.49.1 is the default gateway address of your router, you will be taken to the login page of the Admin Console.
- Here you will be asked to enter the login username and password. You can find the default login username and password printed on a label at the back or side of the router.
- Enter the login username and password & click on Log In.
- You will be now logged into the admin console of your router. From there you can manage different settings of both the router and Wi-Fi Network.
How to change the Wi-Fi network SSID and Password?
As mentioned above, you can change the Wi-Fi network SSID and Password through the Admin Console. By default, the SSID and Wi-Fi Password are set by the router manufacturer, however, you can change it through the admin console and set it as you want to. The method to change both the SSID and Wi-Fi Password is easy and here is how you can do so:
Change Wi-Fi Network SSID
Here is how you change the SSID of your Wi-Fi Network:
- Login into the Admin Console of the router using the aforementioned method.
- Once logged in, go to the Wireless Section.
- Look for the Wi-Fi SSID field.
- Enter the new Wi-Fi SSID in the given field.
- Click on Apply to save changes.
- The Wi-Fi SSID will be changed now.
Change Wi-Fi Network Password
Here is how you change the password of your Wi-Fi Network:
- Log in to the Admin Console of the router. The method is mentioned above.
- Once logged in, go to Home > Wireless.
- Here, look for the Wi-Fi Password field under the Security section.
- Enter the new Wi-Fi Password in the given field.
- Now, click on Apply to save changes.
- The password of the Wi-Fi network would be now changed.