
Alta Labs web-based user interface allows you to change Wi-Fi password, Network Name (SSID), and default router settings at https://manage.alta.inc.
Note: Before you begin, make sure you have already configured your Route10 via the Internet Setup Wizard. To access the setup wizard, connect your laptop or workstation PC to a LAN interface on the Route10 via an Ethernet cable and open a web browser and type http://192.168.1.1 or http://setup.lan in the address bar to proceed.
How to login to Alta Labs router?
- Connect your device to the router’s Wi-Fi network.
- Open a browser and type https://manage.alta.inc/ in the address bar.
- Enter the Email and Password and click Sign in.
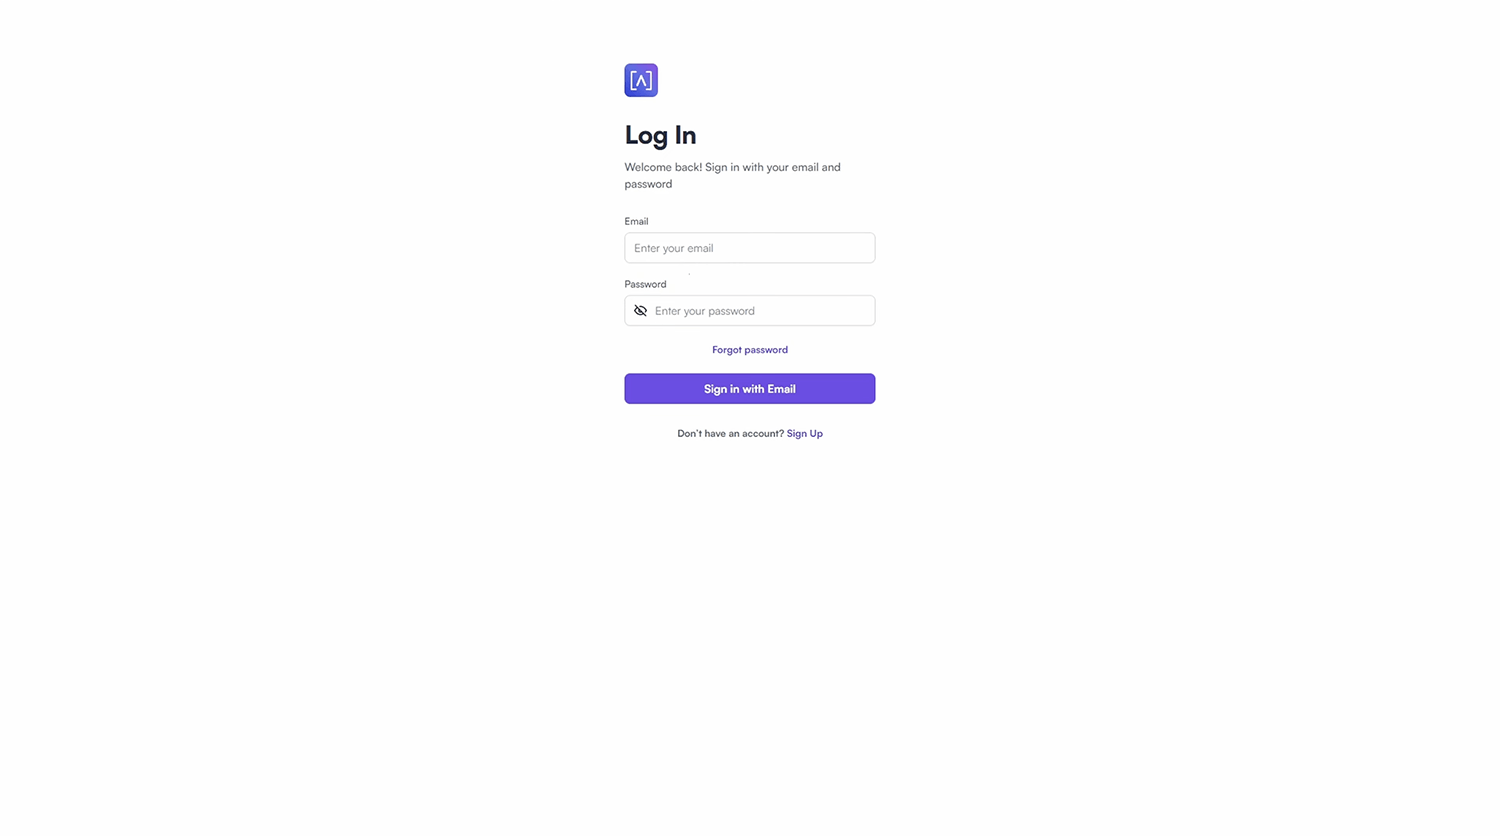
- You will be logged in to the Alta Labs management account.
How to change Alta Labs Wi-Fi Password and Network Name?
- Log in to the Alta Labs management account.
- Select the site you want to configure in the upper right hand corner.
- Select Settings > Wi-Fi > Click on Add new or select an existing SSID.
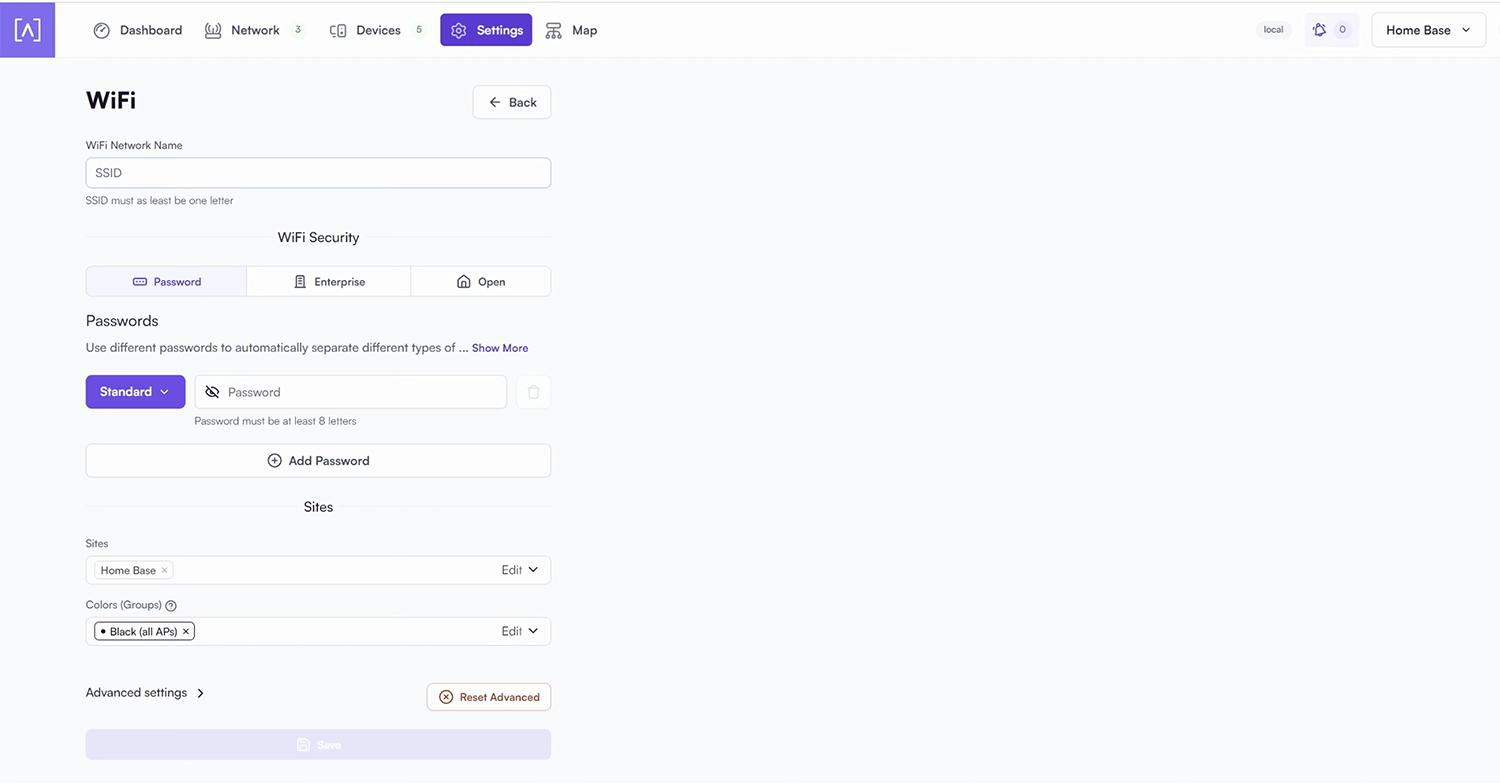
- Enter the Wi-Fi Network Name in the WiFi Network Name field.
- Select the Password option under the WiFi Security section.
- Select Network type: Standard (if applicable) from the drop-down menu and enter the Wi-Fi Password in the Password field. If you plan on connecting more than one hundred WiFi devices to this network, make sure you choose Large, Guest, or Internet only.
- Click Save.
By default, the Wi-Fi bands are combined. To create 2 GHz and 5 GHz Wi-Fi networks separately, select Advanced settings and select 2 GHz, 5 GHz, or Both.