
Ap.Setup is a web-based utility that allows to configure and manage Wavlink Wi-Fi Range Extender at http://ap.setup or http://192.168.10.1.
How to Setup WavLink Extender?
- Connect your computer or other device to the Range Extender using an Ethernet cable or Wirelessly..
- Join Wavlink Range Extender Wi-Fi network which is by default Wavlink_XXXX.
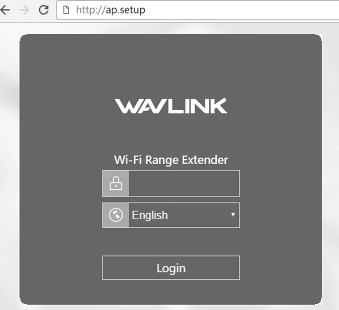
- Open a browser and type http://ap.setup or 192.168.10.1.
- The login screen will appear. Enter the default password “admin“.
- Go to the Wizard tab and click on the Repeater option.
- A list of all the available Wi-Fi networks available nearby will be displayed on the screen.
- Select the WiFi network whose range you want to extend. Alternatively, you can also add a WiFi network manually.
- Enter the password of the selected Wi-Fi network.
- Now, enter the SSID or Network Name for the new Extended WiFi network in the given field.
- Now click on the Connect button.
- Wait for a few seconds as it finalizes creating a new extended WiFi network.
- The device will now reboot and the new WiFi network will be created successfully.
How To Setup Ap.Setup via WPS?
Alternately, you can set up Wavlink Extender using the WPS. For this method to work, your router should support the WPS feature. Here is how you can set up Wavlink Extender via WPS mode.
- Place both the extender and the router in the same room.
- Locate the WPS button on the Wavlink Range Extender (Repeater) and press & hold it for 2-3 seconds and you will see the light blinking.
- Now, push the WPS button on your router.
- The WPS lights on both the extender and the router will blink for 10-15 seconds meaning that a connection is being established.
- After the connection is successfully made between both the devices, the WPS light on the router will stop blinking whereas the WPS light on the repeater will become stable.