
To log in to the CenturyLink router settings page, your PC needs to be connected to the CenturyLink WiFi network. You can connect wirelessly through the WiFi network or use an Ethernet cable to connect your PC to the Router. Internet connectivity is not necessary for this.
Once connected, follow these simple steps to log in to the CenturyLink router settings page:
- On your PC connected to the CenturyLink network, open a web browser of your choice.
- In the URL bar, type the default IP address of the CenturyLink router: http://192.168.0.1, and press Enter.
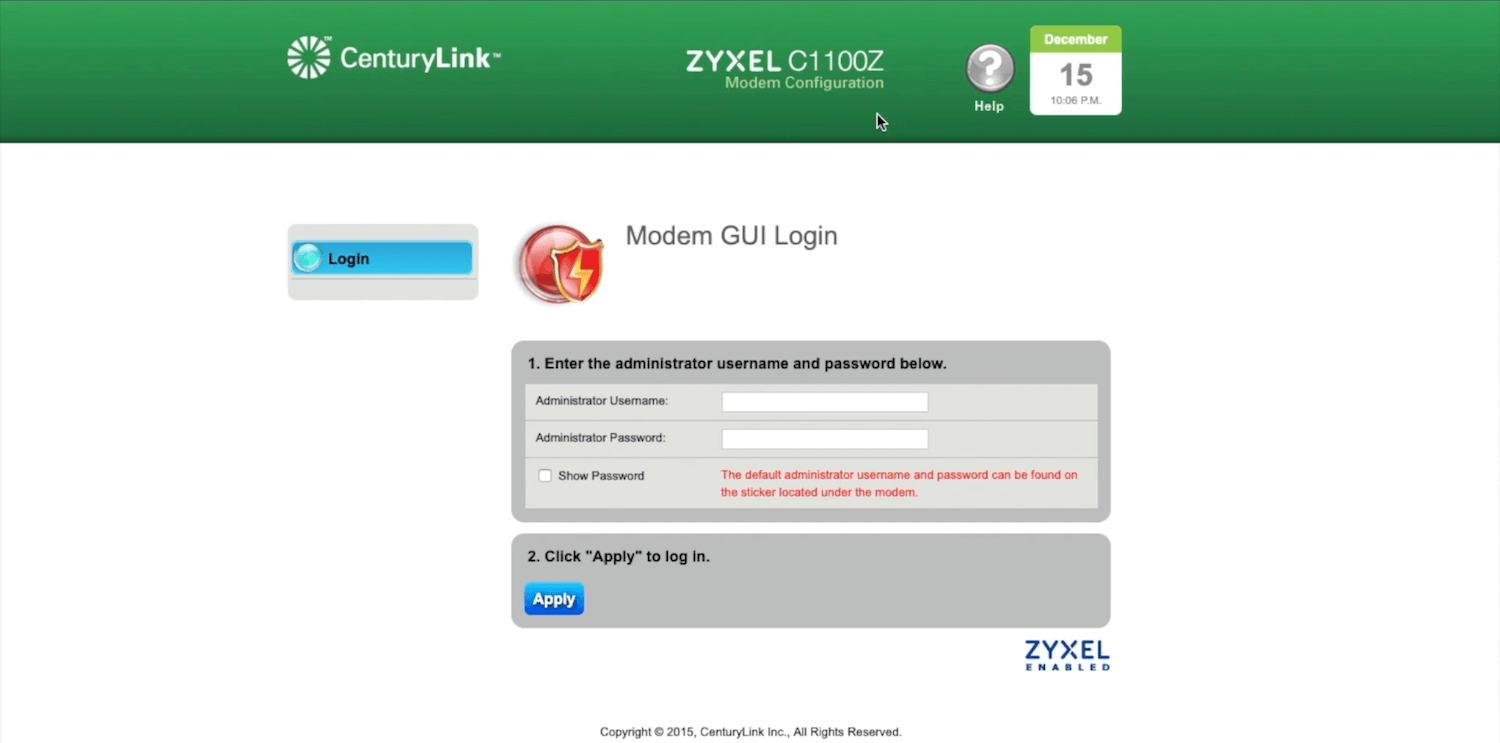
- You will be taken to the CenturyLink router login page. You will have to enter the Administrator Username and Password to continue.
- If you haven’t changed your Administrator username and password then you can log in using the default username and password. You can find it printed on a label printed at the back of the router.
- Enter the Administrator Username and Password and click on Apply to log in.
- You will be taken to the Home Page of the router. From there, you can configure different settings of the router.
Change CenturyLink WiFi SSID
SSID is the name of your WiFi Network and it changed through the router’s settings page. Default WiFi SSID can be confusing and hard to remember, therefore, if you want to change the SSID of your CenturyLink WiFi network then you can follow these steps:
- Log in to the router’s settings page using the aforementioned method.
- On the home page of the router, click on the Wireless Setup.
- From the left menu, click on the SSID Setup.
- Now, select the SSID that you want to change.
- Scroll down and enter the new SSID in the given field.
- Click on Apply to save changes.
Change CenturyLink WiFi Password
The default WiFI password of any router is a random mixture of letters and numbers that can be found on the label printed at the back of the router. This password is hard to remember and most people prefer to change it. If you want to change the password of your CenturyLink WiFi network then here is how you can do it:
- Log in to the router’s settings page. The method is mentioned above.
- On the router settings page, click on the Wireless Setup.
- From the left menu, select Wireless Security.
- Now, select the SSID of the network for which you want to change the password.
- Select the security type as WPA2 – Personal.
- Scroll down and select Use Custom Security Key/Passphrase option.
- Enter the new WiFi password in the Security Key/Passphrase field.
- Click on Apply to save the changes.
- The router will reboot and you can then connect to the network using the new password.