
Cisco Meraki web-based dashboard allows you to change WiFi password, Network Name (SSID), and default access point settings at http://my.meraki.com/.
How to login to Cisco Meraki router?
- Open a browser and type http://my.meraki.com in the address bar.
- Enter the Username and Password and click Login.
- You will be logged in to the Cisco Meraki dashboard.
Note: If my.meraki.com methods fails, you can access the local status page through device’s LAN IP. To view the hardware IP address, open Meraki Go app > Hardware > LAN IP.
The Cisco Meraki Device Local Status Page login credentials will be either of:
- No password (default): Use the AP’s serial number, with hyphen included (e.g. QXXX-XXXX-XXXX) as the username and leave the password field blank.
- If password is set in the app: Use “admin” as the username and the configured password in the app.
The serial number (S/N) is printed on the bottom of the device.
If the local password doesn’t work, try clearing your browser’s cache or perform a factory reset of the device.
How to change Cisco Meraki Wi-Fi Password and Network Name?
- Log in to the Cisco Meraki Dashboard.
- Navigate to Wireless > Configure > SSIDs.

- For the Name section, select rename and enter the Wi-Fi Network Name and click Save Changes.
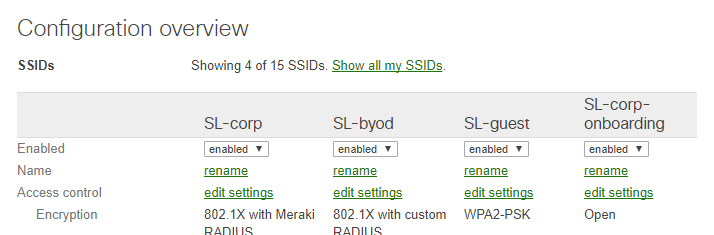
- Navigate to Wireless > Configure > Access Control.
- Select the SSID from the SSID drop-down menu.
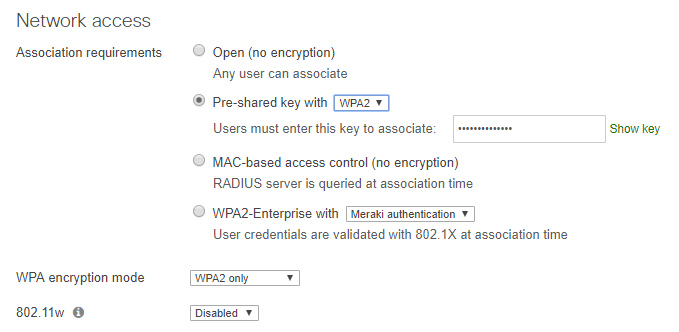
- Under Network access, select Pre-shared key (PSK).
- Enter the Wi-Fi Password and click Save Changes.
How to change Local Device Status Page password?
- Log in to the Cisco Meraki Dashboard.
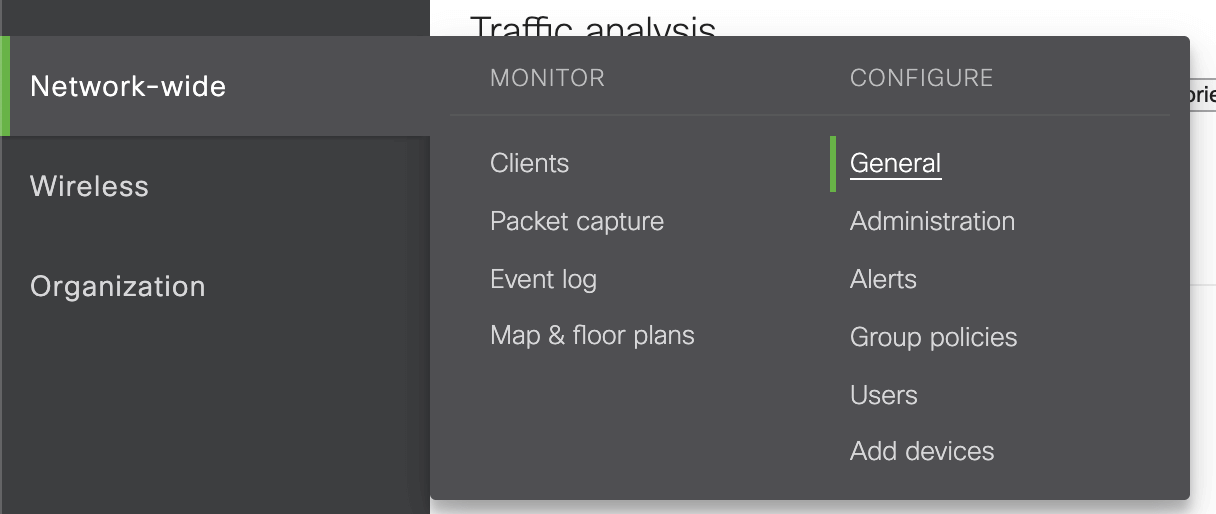
- Navigate to Network-wide > Configure > General > Device configuration.
- Under Local credentials, enter the Password.
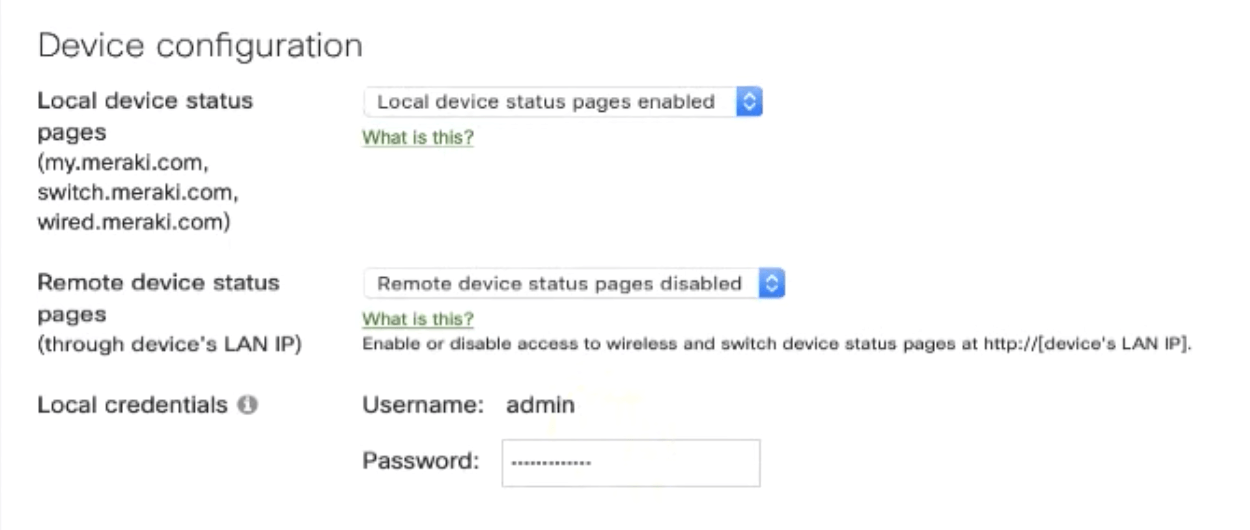
- Click Save Changes.