
Login to NETGEAR Orbi router admin at orbilogin.com or gateway IP address 192.168.1.1 to make changes to WiFI settings such as network name (SSID) and password. Both the settings of the router and Wi-Fi network are accessed through the Admin Console of the router and from there you can manage all the basic and advanced settings.
How to login to NETGEAR Orbi?
Here is how you can log in into the Admin Console of the NETGEAR Orbi Router and manage all the settings:
- The first thing that you have to do is connect your PC to the Orbi Router. There are three ways in which you can do so:
- Wired Connection: Use an ethernet cable to connect your PC to the Orbi Router
- Wireless Connection: Connect to the Wi-Fi network of the Orbi Router
- WPS Method: Use the WPS to connect to the Orbi Router network.
- Once connected, open a web browser of your choice.
- Open a new blank tab and in the address bar, type: www.orbilogin.com or www.orbilogin.net and press Enter. You can also type in the default gateway IP address. The Default Gateway IP address for Orbi Routers is http://192.168.1.1/.
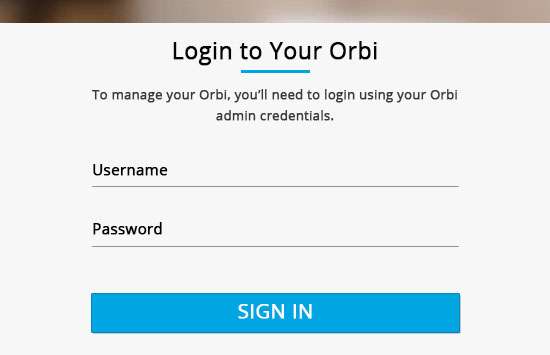
- You will be taken to the login page of the NETGEAR Orbing Router. Here you will be asked to log in using your Orbi admin credentials. Type in the Orbi Username and Password.
- Now, click on Sign In to login into your NETGEAR Orbi Router Admin Console.
NETGEAR Orbi Login using Orbi App
Alternatively, if you find the above method hard and difficult then you can also login using the Netgear Orbi app on your cell phone. Here is how you can log in using the Orbi app:
- Download and install the Orbi app on your cell phone. It is available to download on both Google Play Store and Apple App Store.
- Once the app is installed, open it. Make sure that you are connected to the Orbi Wi-Fi network.
- After opening the app, you will see the Orbi login page. Here you will be asked to enter the Orbi login username and password.
- Enter the Orbi login credentials and tap on Sign In.
- If the login credentials are correct then you will be logged into your Orbi router admin console.
How to change the Orbi Wi-Fi Network SSID and Password?
One of the things that you can change from the Admin Console is the Wi-Fi Network SSID and Password. Both of these can be easily changed once you login into the admin console of the router.
SSID
Here is how you can change the Wi-Fi SSID from the Orbi Admin Console:
- Login into the Orbi Router Admin Console using the aforementioned method.
- Once logged in, go to Basic > Wireless.
- Look for the Name (SSID) field under the Wireless Network section.
- Enter the new Wi-Fi SSID in the given field.
- Click on Apply to save the changes. The Wi-Fi SSID will be changed and you will have to reconnect as all the previously connected devices which were connected to the old SSID will be disconnected.
Password
Here is how you can change the Wi-Fi Password from the Orbi Admin Console:
- Login into the Orbi Router Admin Console using the method mentioned above.
- Now that you are logged in, go to Basic > Wireless.
- Look for the Password (Network Key) field under the Security Options section.
- Enter the new Wi-Fi password in the given field consisting of 8-63 characters.
- Click on Apply to save the changes. Now, you can connect to your Wi-Fi network using the new password.