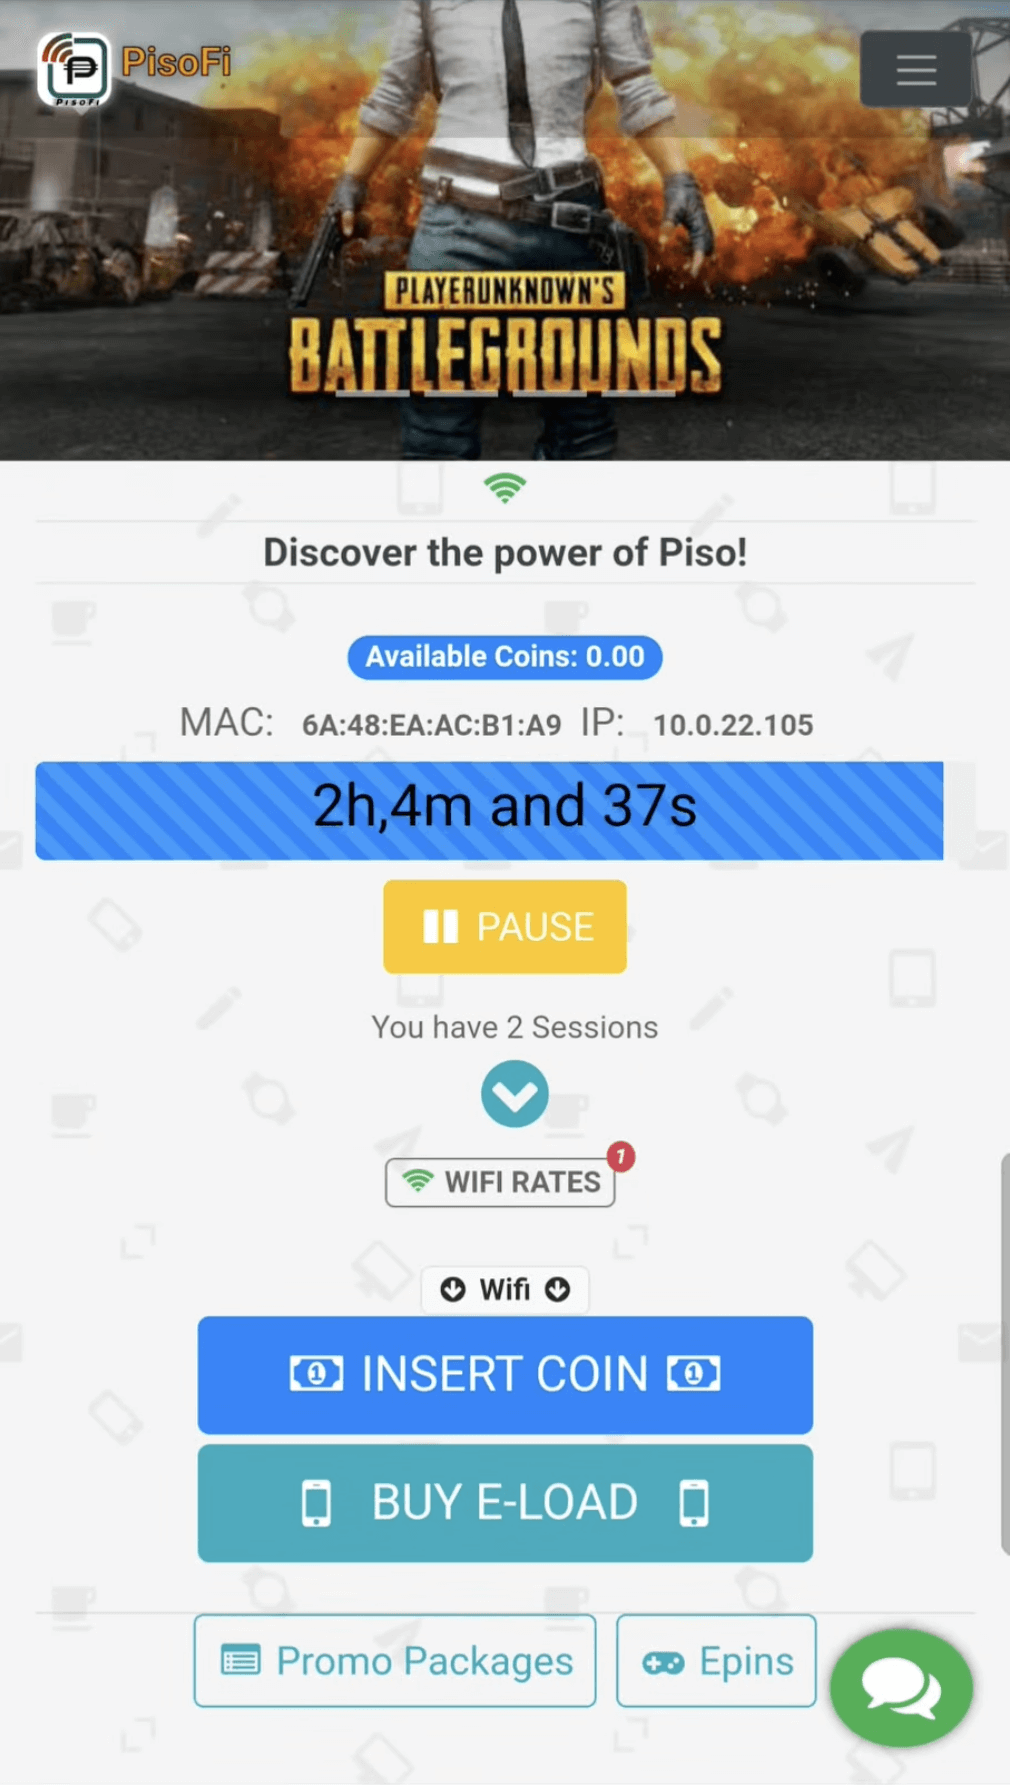
PisoFi portal allows you to Insert Coins, Pause Time, and change PisoFi settings for vendo owners and customers at http://10.0.0.1.
For Vendo Customers:
How to Connect to PisoFi?
- Connect to “PisoWifi” Wi-Fi network on your mobile phone.
- Open a browser and type http://10.0.0.1 in the address bar.
- Click on INSERT COIN and insert the coins in the vendo machine and click GO ONLINE.
- You will be connected to the hotspot machine.

To Pause Time, open the portal and click on the PAUSE button.
For Vendo Owners:
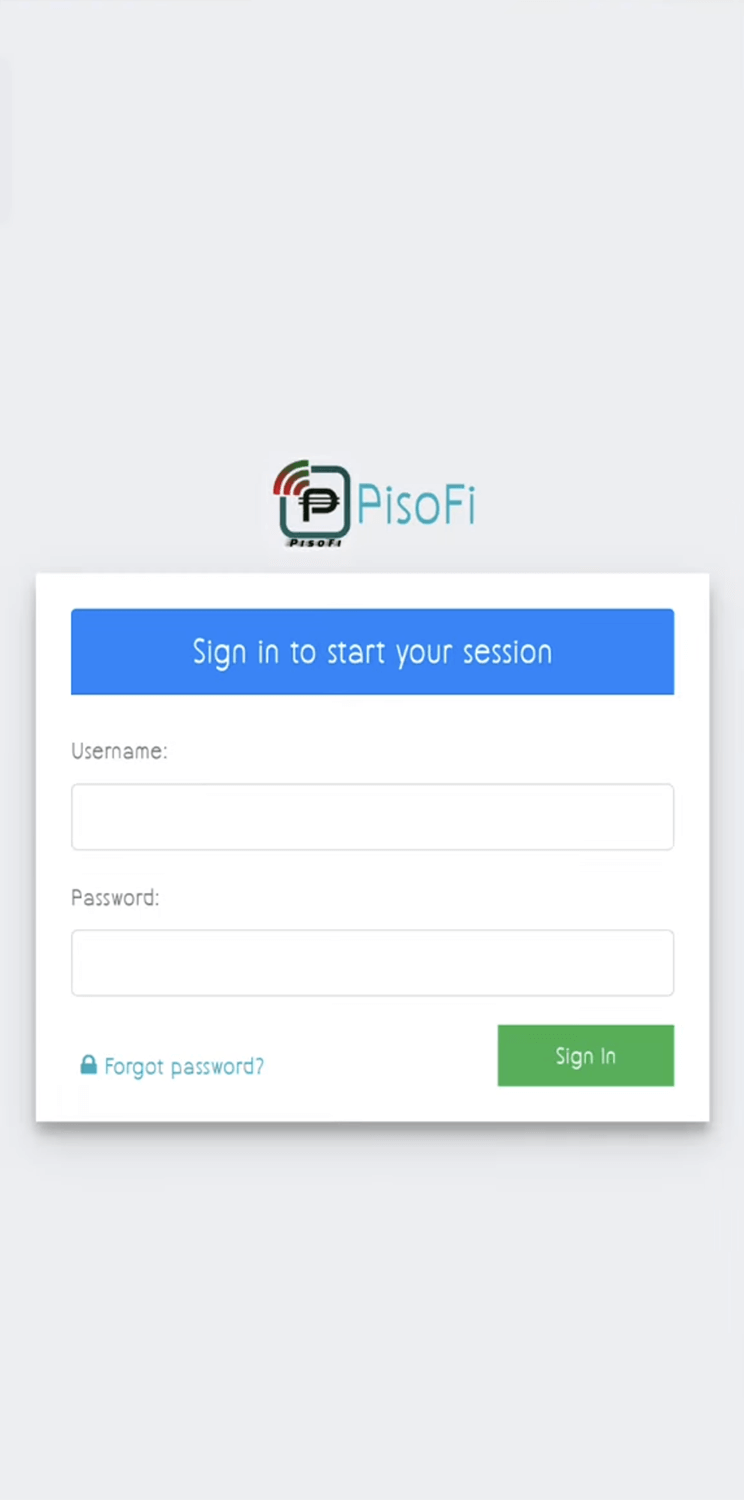
How to login to PisoFi Admin Dashboard?
- Connect to PisoFi network.
- Open a browser and type http://10.0.0.1/admin in the address bar.

- Enter the Username: administrator and Password: admin12345 and click Sign In.
- You will be logged in to the PisoFi Admin Dashboard.
The Dashboard will allow you to manage Wifi user sessions, check sales, generate WiPass, add rates, customize the portal, and manage network settings.
How to Add Wifi Rates?
- Toggle on the Menu > Rates > Wifi Rates.
- Select New Rate.
- Enter the Coin Amount, Time (For example, 1 coin for 10 minutes, and 5 coins for 1 hour time), and click Save.
How to Generate WiPass?
- Open Main Navigation > WiPass > Wifi.
- Click on the Generate Custom Time WiPass option.
- Enter the time, quantity, amount, download and upload rate, number of clients, and expiration date. Optionally, you can also select to allow pause, Wipass conversion, and Wifi Sharing.
- Click Save and the tickets/vouchers will be generated successfully.
How to Change Download and Upload Limit?
- Open Menu > Settings > Wifi.
- Enter the Minimum and Maximum Download and Upload Limit (in kbps).
- Click Save.
