
Videotron Admin tool allows you to change WiFi password, Network Name (SSID), and default router settings at http://10.0.0.1 or http://192.168.0.1.
How to login to Videotron router?
- Open a browser and type http://10.0.0.1 or http://192.168.0.1 in the address bar.
- Enter the Username and Password and click Login.
- You will be logged in to the Videotron router settings.
Default Videotron Username and Password
| Router Brand | IP Address | Username | Password |
|---|---|---|---|
| Helix Fi gateway | 10.0.0.1 | admin | password |
| New Generation Wi-Fi Router (ZyXel EMG2926) | 192.168.0.1 | admin | (blank) |
| First Generation Wi-Fi Router (D-Link DIR825) | 192.168.0.1 | admin | (blank) |
How to change Videotron Wi-Fi Password and Network Name?
Select your device:
- Helix Fi gateway
- New Generation Wi-Fi Router (ZyXel EMG2926)
- First Generation Wi-Fi Router (D-Link DIR825)
Helix Fi gateway
- Open a browser and type http://10.0.0.1 in the address bar.
- Enter the Username: admin and Password: password and click Login.
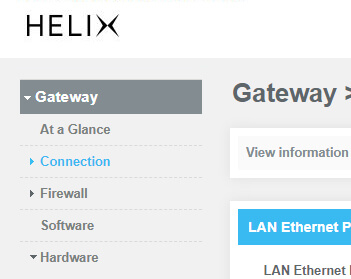
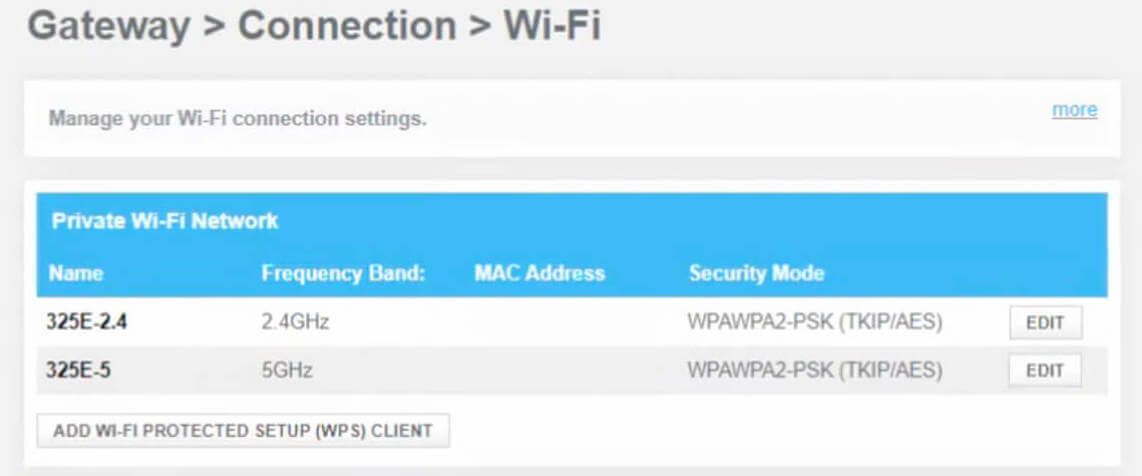
- Select Gateway > Connection > Wi-Fi.
- Select EDIT next to either the 2.4GHz or 5GHz Frequency Band.
- Enter the Wi-Fi Network Name in the Network Name (SSID) field.
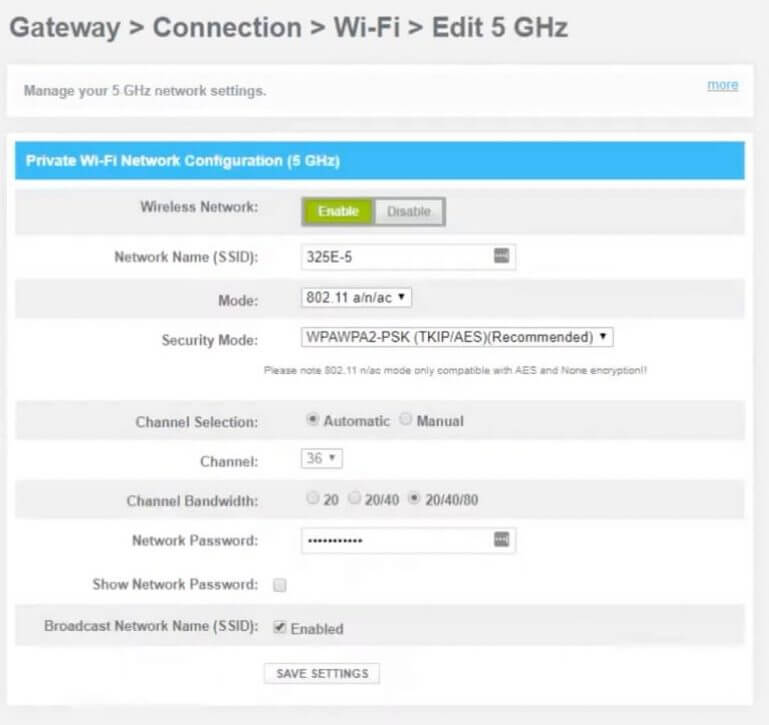
- Enter the Wi-Fi Password in the Network Password field.
- Click Save Settings.
New Generation Wi-Fi Router (ZyXel EMG2926)
- Open a browser and type http://192.168.0.1 in the address bar.
- Enter the Username: admin and Password and click Login. (Note: By default, there is no password. Leave the password field blank.)
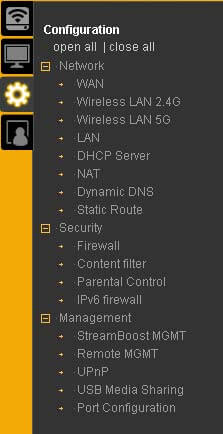
- From the Navigation Menu, select Configuration > Network > Wireless LAN 2.4G/5G > General.
- Enter the Wi-Fi Network Name in the Name (SSID) field.
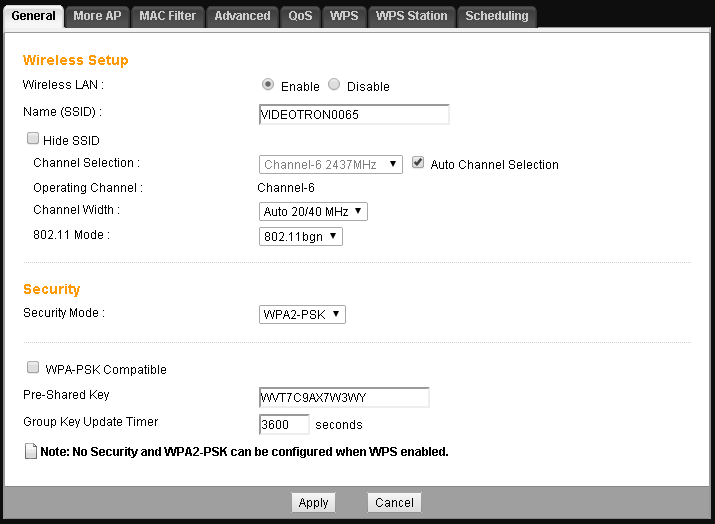
- Enter the Wi-Fi Password in the Pre-Shared Key field.
- Click Apply.
First Generation Wi-Fi Router (D-Link DIR825)
- Open a browser and type http://192.168.0.1 in the address bar.
- Enter the Username: admin and Password and click Login. (Note: By default, there is no password. Leave the password field blank.)
- Select Setup > Wireless Settings.
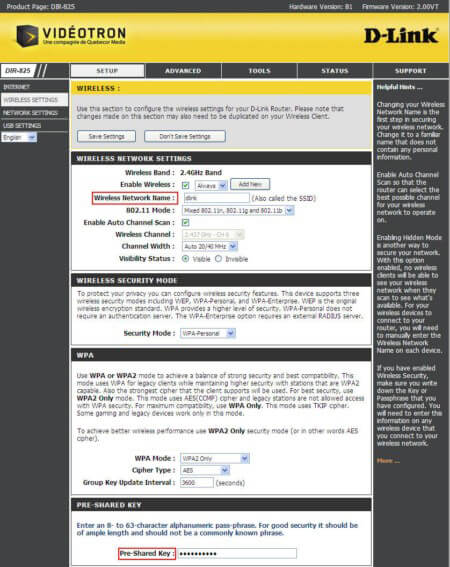
- Enter the Wi-Fi Network Name in the Wireless Network Name field.
- Enter the Wi-Fi Password in the Pre-Shared Key field.
- Click Save Settings.