
Wireless@SG is a free Wi-Fi service to stay connected in Singapore. Log in via web browser or download the Wireless@SGx app to configure it for automatic login.
How to connect to Wireless@SG?
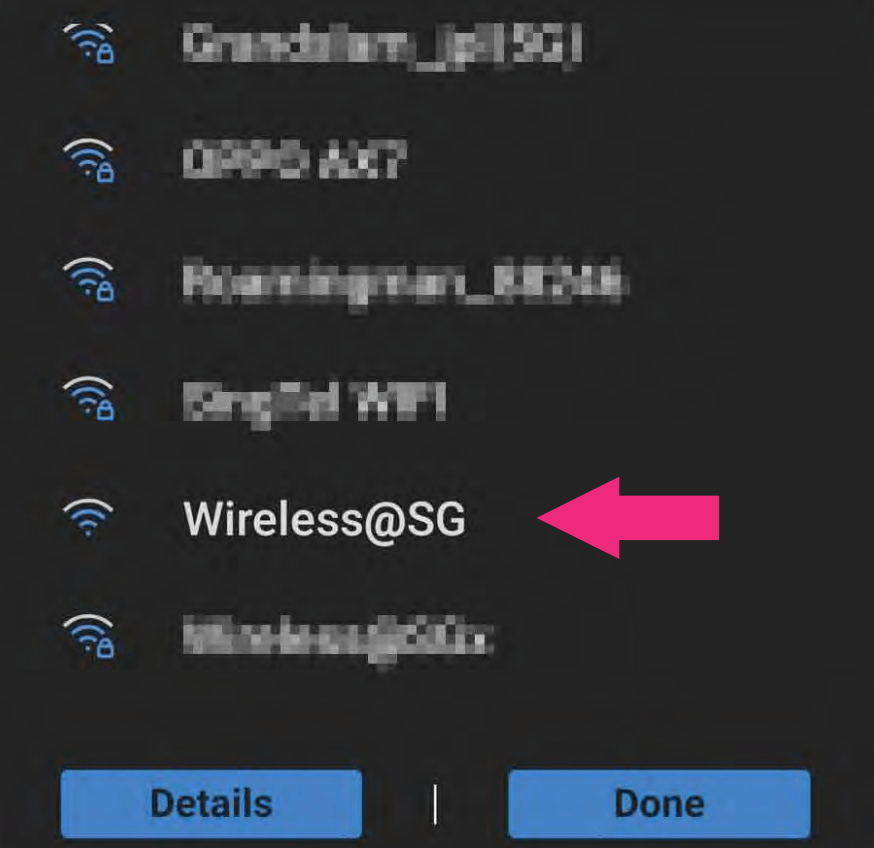
- Connect to the “Wireless@SG” Wi-Fi network.
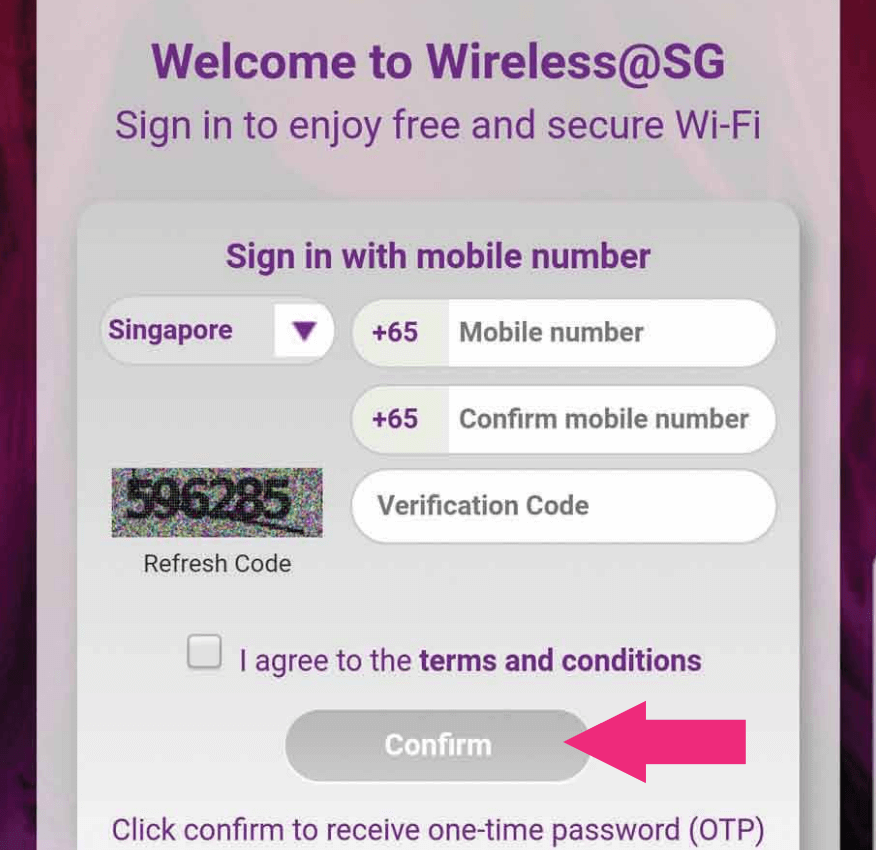
- Enter your Mobile number and click Confirm.
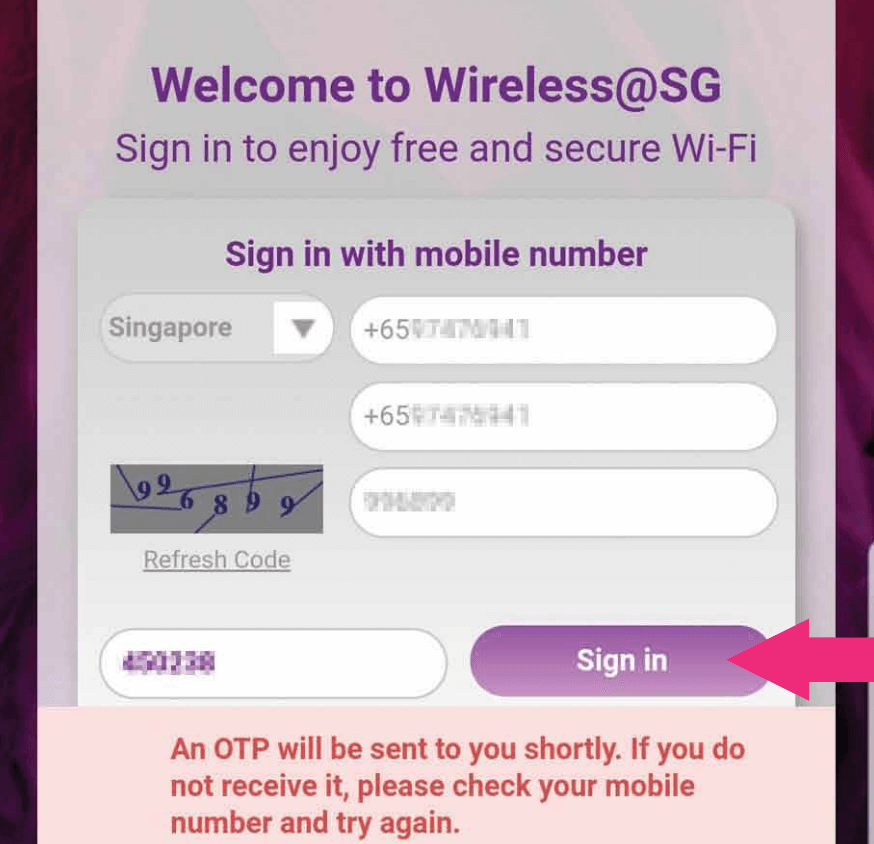
- Enter the One-Time Password (OTP) and click Sign in.
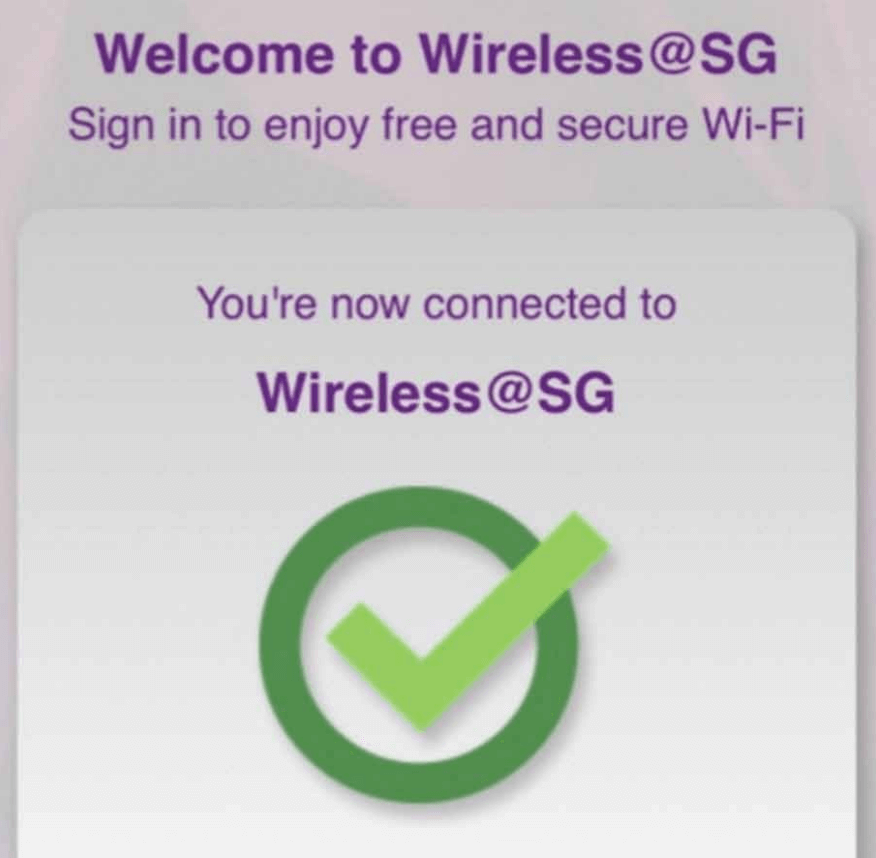
- You will be connected to Wireless@SG.
How to Download the Wireless@SGx App?
Wireless@SGx App is only supported on Android 8.0 or later, HarmonyOS 2.0/EMUI 8 or later, iOS 12 or later, MacOS 11 or later, and Windows 7 or later.

![]()


Select the applicable setup guide:
- Android SIM Setup
(For Android devices with local SIM cards.) - Android non-SIM Setup
(For Android devices without SIM cards, for example, tablets.) - iOS SIM Setup
(For iOS devices with local SIM cards.) - iOS non-SIM Setup
(For iOS devices without SIM cards, for example iPad.) - MacOS Setup
(For devices running MacOS.) - Windows Setup
(For devices running Windows OS.)
Android SIM Setup
- Download the Wireless@SGx App on Google Play Store or Huawei AppGallery.
- Launch the app and Accept the required device permissions.
- When prompted “Allow Wireless@SG to access this device’s location“, select “Allow all the time“.
- Is this device installed with Singapore SIM Card, click YES and Agree.
- Enjoy a seamless connection to “Wireless@SGx” if your device runs on Android 9 and below. Happy Surfing!
- For Android 10 & above, follow the next steps to complete the setup.
- Go to Wi-Fi Settings and tap “Saved Networks” and select “Wireless@SGx“.
- Tap “Connect” and enjoy a seamless connection to “Wireless@SGx”.
Android non-SIM Setup
- Download the Wireless@SGx App on Google Play Store or Huawei AppGallery.
- Launch the app and Accept the required device permissions.
- When prompted “Allow Wireless@SG to access this device’s location“, select “Allow all the time“.
- You will be redirected to the setup page.
- Tap “More” > “Setup” > Choose any provider (M1, Singtel, StarHub, or Simba).
- Enter your Date of Birth and Mobile Number, Agree to the Terms & Conditions, and click Next.
- Enter your OTP and click Next.
- Click Proceed to complete the setup.
iOS SIM Setup
- Download the Wireless@SGx App on Apple App Store.
- Launch the app and Accept the required device permissions.
- When prompted “Allow “Wireless@SGx” to use your location?“, click “Allow Once“.
- Is this device installed with Singapore SIM card? click Yes and Agree.
- Tap “Next” and you will be redirected to install a profile.
- Click Allow to download a configuration profile and click Close once downloaded.
- Go to Settings > General > VPN & Device Management.
- Tap Wireless@SGx and click Install.
- Click Install again and Done.
iOS non-SIM Setup
- Download the Wireless@SGx App on Apple App Store.
- Launch the app and Accept the required device permissions.
- When prompted “Allow “Wireless@SGx” to use your location?“, click “Allow Once“.
- Is this device installed with Singapore SIM card? click No.
- You will be redirected to the setup page.
- Tap “More” > “Setup” > Choose any provider (M1, Singtel, StarHub, or Simba).
- Enter your Date of Birth and Mobile Number, Agree to the Terms & Conditions, and click Next.
- Enter your OTP and click Next.
- Tap “Next” and you will be redirected to install a profile.
- Click Allow to download a configuration profile and click Close once downloaded.
- Go to Settings > General > VPN & Device Management.
- Tap Wireless@SGx and click Install.
- Click Install again and Done.
MacOS Setup
- Download the Wireless@SGx App on Mac App Store.
- Launch the app and Accept the required device permissions.
- Click Setup your Wireless@SGx profile.
- Click any one of the Wireless@SG operators.
- Select your birthdate and enter your mobile number and click Next.
- Enter the One-Time Password (OTP) and click Next.
- Click Next to being to Install Profile.
- Click Install and enter the Username and Password and click OK.
- Once installed, the profile is verified.
Windows Setup
- Download the Wireless@SGx Zip Installer.
- Install and launch the app.
- Read the Terms of Use and Privacy Policy and click Accept & Continue.
- Click Next to setup your profile.
- Click on Setup from the left menu.
- Choose any Provider (M1, Singtel, StarHub, or Simba) and select your birthdate and key in your mobile number.
- Agree to the terms and conditions and click Next.
- Enter the One-Time Password (OTP) and click Next.
- Click Proceed to complete the configuration.