192.168.0.2 is a private IP Address that belongs to Class B of private IP addresses. 192.168.0.2 is used to access the admin interface of network routers. It is pre-configured by the router manufacturer as the default IP address through which you can access the admin web interface of the router, e.g 192.168.0.2 is the default IP address of many D-Link and NETGEAR Routers. The router admin web interface is an important web page that holds all the essential settings of both the wireless router and the wireless network. Through the router web interface, you can change the SSID of your WiFi Network, change the password of the WiFi network, change the admin login password, etc.
How to login to 192.168.0.2?
To login into the admin web interface of your router through 192.168.0.2, follow these steps below:
- Open a web browser on your PC. (Google Chrome, Mozilla Firefox)
- Open a new blank tab and in the address bar type http://192.168.0.2/, and hit Enter.
- You will be taken to the login page of your web router. Here you will see Username and Password fields. You will have to enter the username and password to continue.
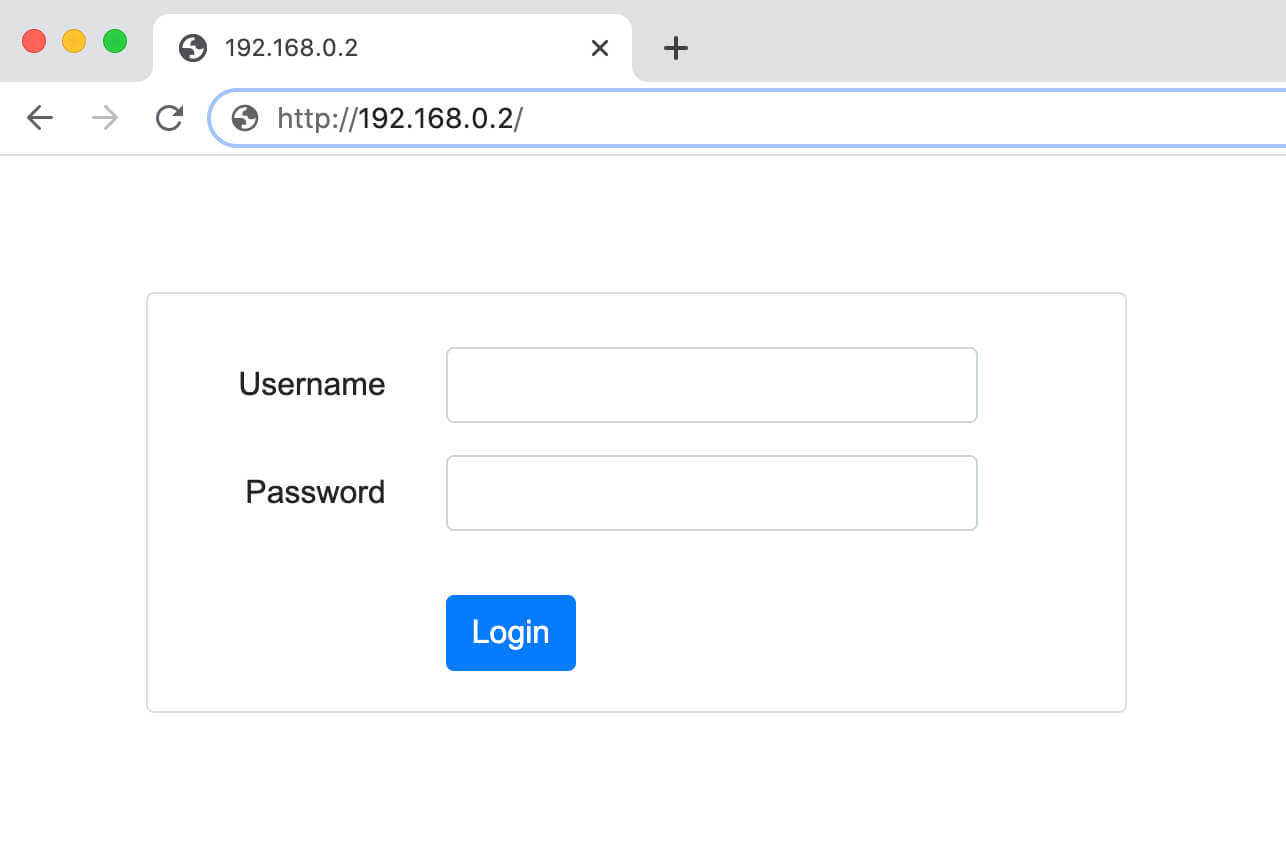
- You can find the default login username and password printed on a sticker on the box of the router or on the side/back of the router. Use that username and password to log in.
- You will be logged into the admin interface of the router.
Accessing this web page is easy and all you need is a connection between your web router and your PC and the default gateway address. You can connect your PC to the router by using an ethernet cable or just connect to the WiFi network. As far as the default gateway address or default IP address is concerned then it the address through which you can access the router admin web interface and you need to find out the exact IP address for your router, otherwise, you won’t be able to access the router admin web interface.
How to change the WiFi Network Name and Password through 192.168.0.2?
As mentioned earlier, one of the things that you can do after logging into the web interface of the router is that you can change the default WiFi Network Name (SSID) and Password. When you buy a new Wi-Fi router then both the WiFi Network Name and Password are pre-configured and most people want to change both of them.
Changing the Network Name and Password is an easy thing to do once you access the web interface of the router and here is how you can do so:
Change the Wi-Fi Network Name (SSID):
- Log in to the router using the aforementioned method. You will land on the home screen of the admin web interface.
- Now, look for the Wireless section.
- In the Wireless section, look for the Wi-Fi Network Name/SSID field.
- Enter the new Wi-Fi Network Name in the given field.
- Now, click on Save/Apply to save the changes.
- The router will now reboot. After it reboots, the name of the Wi-Fi Network would be changed.
Change the Wi-Fi Network Password:
- Login into the router using the method mentioned above.
- Once logged in, go to Home > Wireless.
- Look for the encryption section there under your main Wi-Fi network. In the Wi-Fi Password/Passphrase field, enter the new Wi-Fi Password. (Make sure that you set a strong password and the encryption protocol is set to WPA2/WPA3)
- After entering the new Wi-Fi Password, click on Save/Apply to save the changes.
- You can now connect to the Wi-Fi network using the new password.