Linksys Extender will increase the range of wireless signals from any access point or router by amplifying the signal and then rebroadcasting it to provide wireless signals to areas that are either network dead zones or hard to reach. To view or change Linksys extender’s settings, visit http://extender.linksys.com when your computer is directly connected to Linksys Extender Setup network.
How to Setup Linksys Extender?
Follow these steps to setup your Linksys Extender:
- Plug-in the Linksys Extender into a power source and ensure LED is blinking.
- Connect to the “Linksys Extender Setup – XXX” network.
- Once connected, open a browser and type http://extender.linksys.com in the address bar.
- The Linksys Extender Setup page will appear.
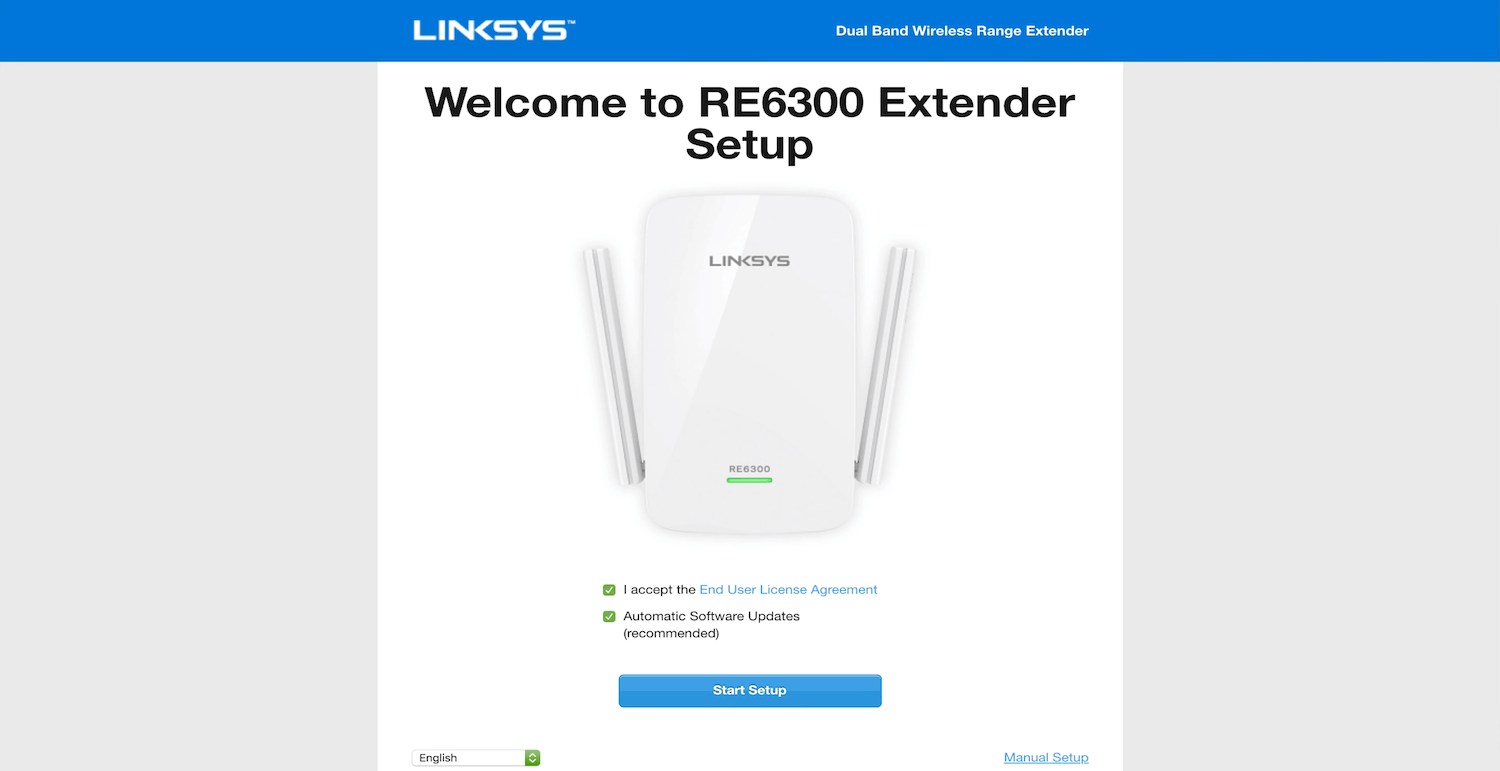
- Mark the tick boxes as preferred and click on the Start Setup button.
- Choose “As a wireless range extender” or “As a wired range extender (Access Point)”.
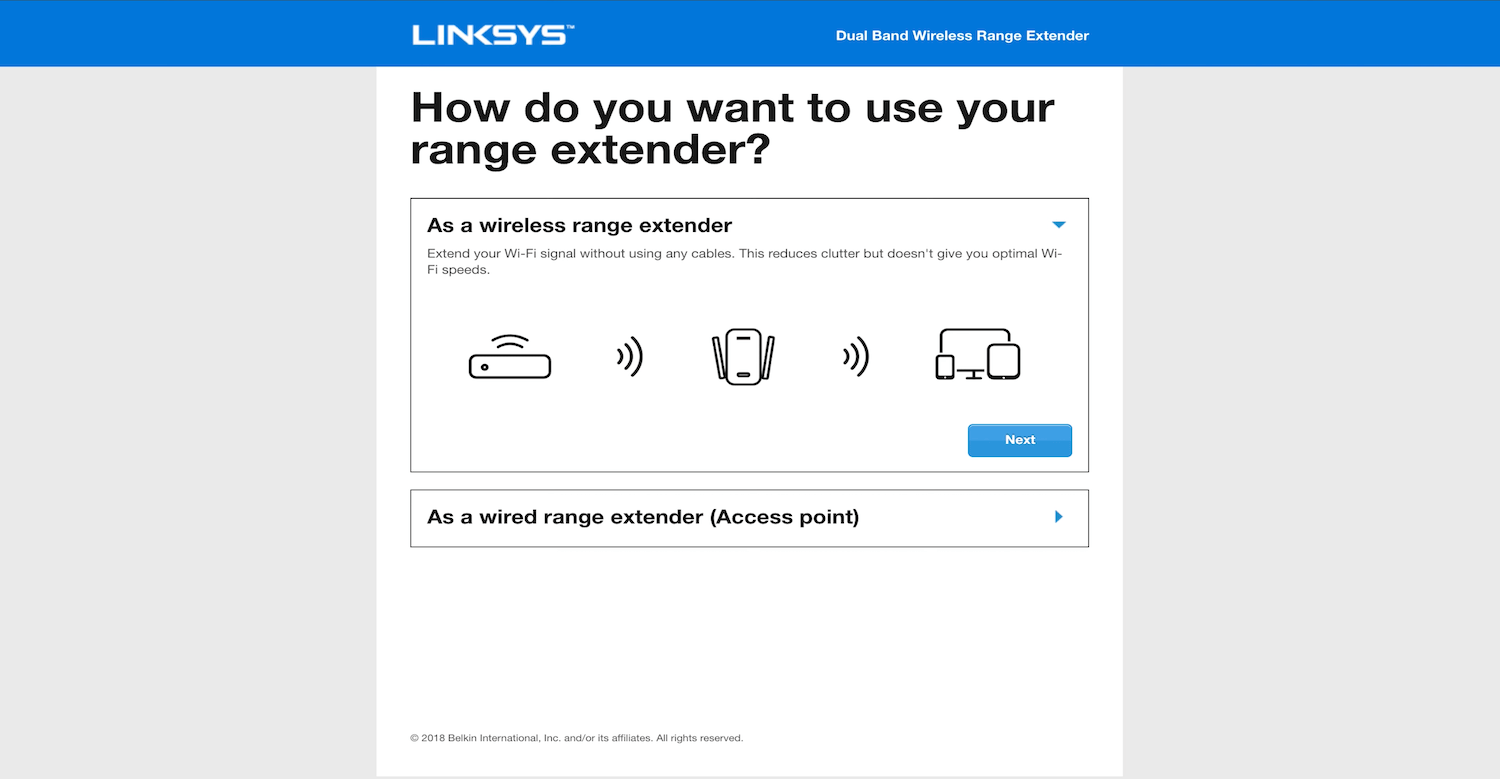
- Select As a wireless range extender and click on the Next button.
- Choose your wireless network from the list whose signal you want to extend.
- Enter the Network Password and click on the Next button. The Extender will now connect to the network.
- If you are extending a dual-band network, you will need to enter the WiFi password of both 2.4 GHz and 5 GHz networks.
- Setup your extended wireless network by typing in the preferred Network Name, Security Mode, and Password.
- Once you enter the Network Name and Password for both the Networks, click on the Next button.
- The Linksys SpotFinder technology will indicate the ideal location for maximum coverage, click Next.
- To secure your range extender, create an admin password. You will use this password to change or view your range extender’s settings.
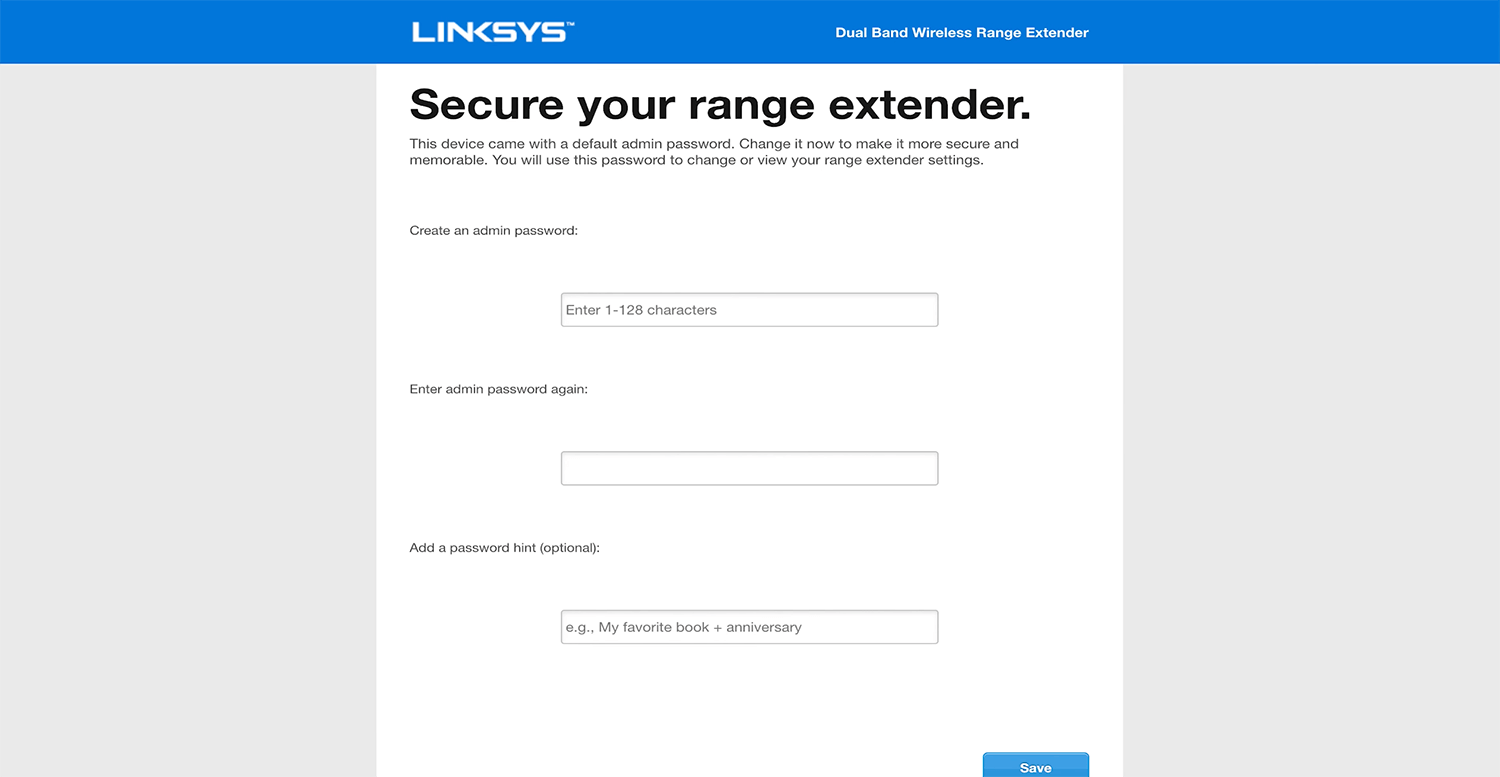
- Enter the admin password and click Save.

- Your extender is set up. Now connect your Wi-Fi devices to the extended network you just created.